Hello!!
*** WARNING**** Super long post!! ****** :)
So now that i've moved and have most of my craft stuff up and running i can
start back to doing my weekly Bits & Pieces each Sunday. For anyone who doesn’t;
know each Sunday (before the moving craziness!!) i would make a card just from
paper scraps and/or extra embellishments. I have a ton of embellishments and
do-dads that don’t make it onto cards, so i am doing this as a way to use that
up!
Now my extra embellishment drawer had to get packed up, there is no room in
my mom's craft room. So i just pulled a few sheets of scraps from each color
and figured before long i would have plenty of extra embellishments to work
with! And i did! I did a few cards this week and several elements and scraps
went into my scrap bin.
Before i show you my card, i thought i would show you my new crafting area.
Sadly i didn’t take a picture before i moved, but let’s say it was a lot
bigger, it was in nook in my bedroom and i had 2 desks, filing systems, shelves...
lots of space!! But now that i have moved in with my mom to get my school done,
space is limited.
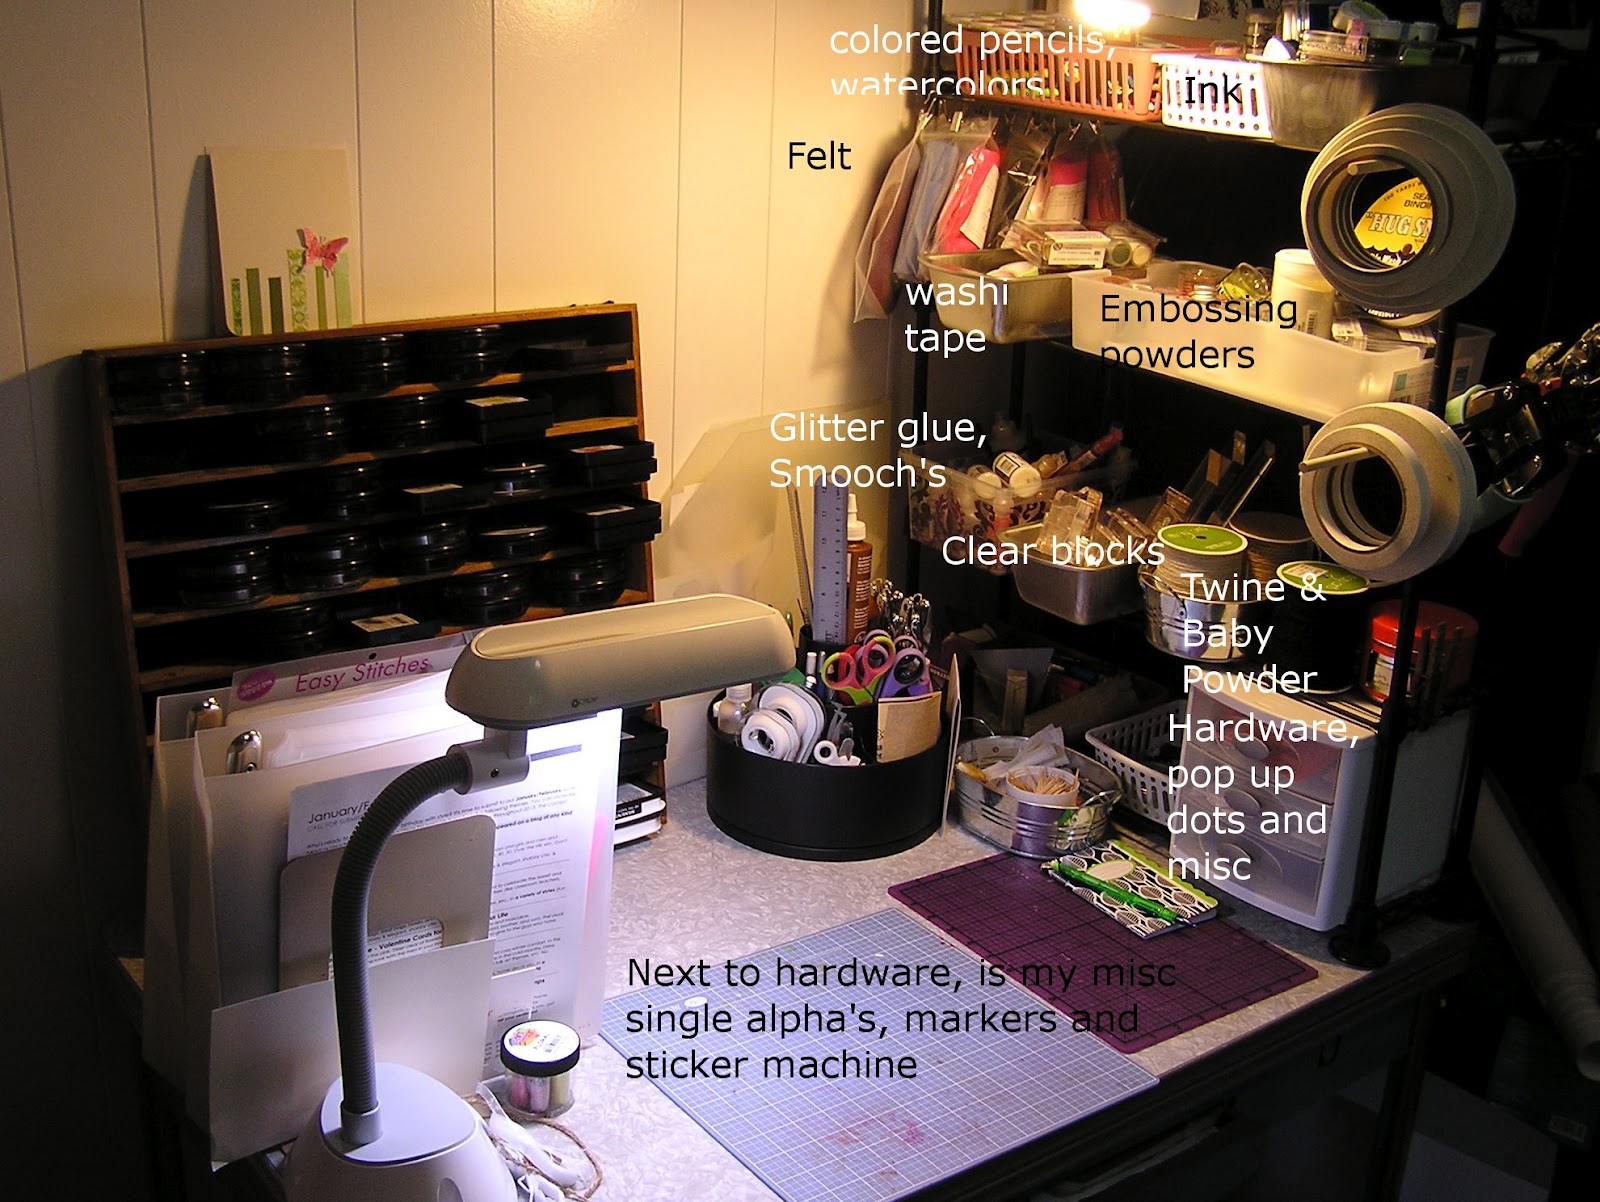
First up is an overall pic (sorry about the lighting!! and spelling!! Didn't
notice it when i was adding the text!) My mom found this awesome 50's kitchen
table and took measurements and before i moved i had everything done just like
you see it in TN, so i would know what i could get on the desk and what would
have to be packed or staying in the car.
I have my PTI/Ranger Inks in a wood shelf (got it at a garage sale ages ago)
I also have a lazy susan that holds all my tools and i have the majority of my
dies in 2 binders. I got this storage idea
here, and it works great for me, especially when space is limited!!
Next pic shows the storage i have under my desk. Originally this bin had all
my cross stitch fabric, but that had to get packed away. So i found some
storage bins at Target that fit inside each drawer, i can get 3 to a drawer,
and each bin holds my clear and cling stamps that are stored in CD cases. The
smaller bin has cardbases, envelops and stickers. On top of my stickers sits a
small bin that has my scraps.
This next photo shows the rack better, it has a lot of stuff on it!! This is
the stuff i use most when making cards, pop up dots, glitter glue, clear
blocks, twine, adhesive tape... etc
Last i have a small shelf next to my desk that holds the solid cardstock and
Kraft. Next to that are 2 crystal clear drawers that have brads, buttons
flowers rhinestones etc by color. Originaly each color had a drawer, but since
space is limited, i got 2 colors in each drawer. 3 other drawers are on the
second and third shelf. On the top shelf sitting on the drawers is a 3 layer
plastic case that has my Studio G pigment ink and PTI's ink refills.
I also have a bin for my punches and misc embellishments are scattered where
they would fit. The last shelf (really the floor) has my box of Hampton Art goodies
and next to that more bins that hold background stamps, big dies, and my alphabets.
Now this is not all of my stuff, i have at least 10 more 12 x 12 plastic
holders that has all my pattern paper. Since i will not have much money to buy
more supplies i want to use what i have so all my pattern paper is in my car
(wagon, not a sedan). I also have several plastic shoe box like cases that have
glitter, more cards and envelopes, small supply of fabric and all my 6x6 paper.
I also store my ribbon in clear cookie jars, and those are in a couple boxes,
also in my car. So when i need some glitter, ribbon or pattern paper, out to my
car i go! When I’m done, it goes back out to my car!
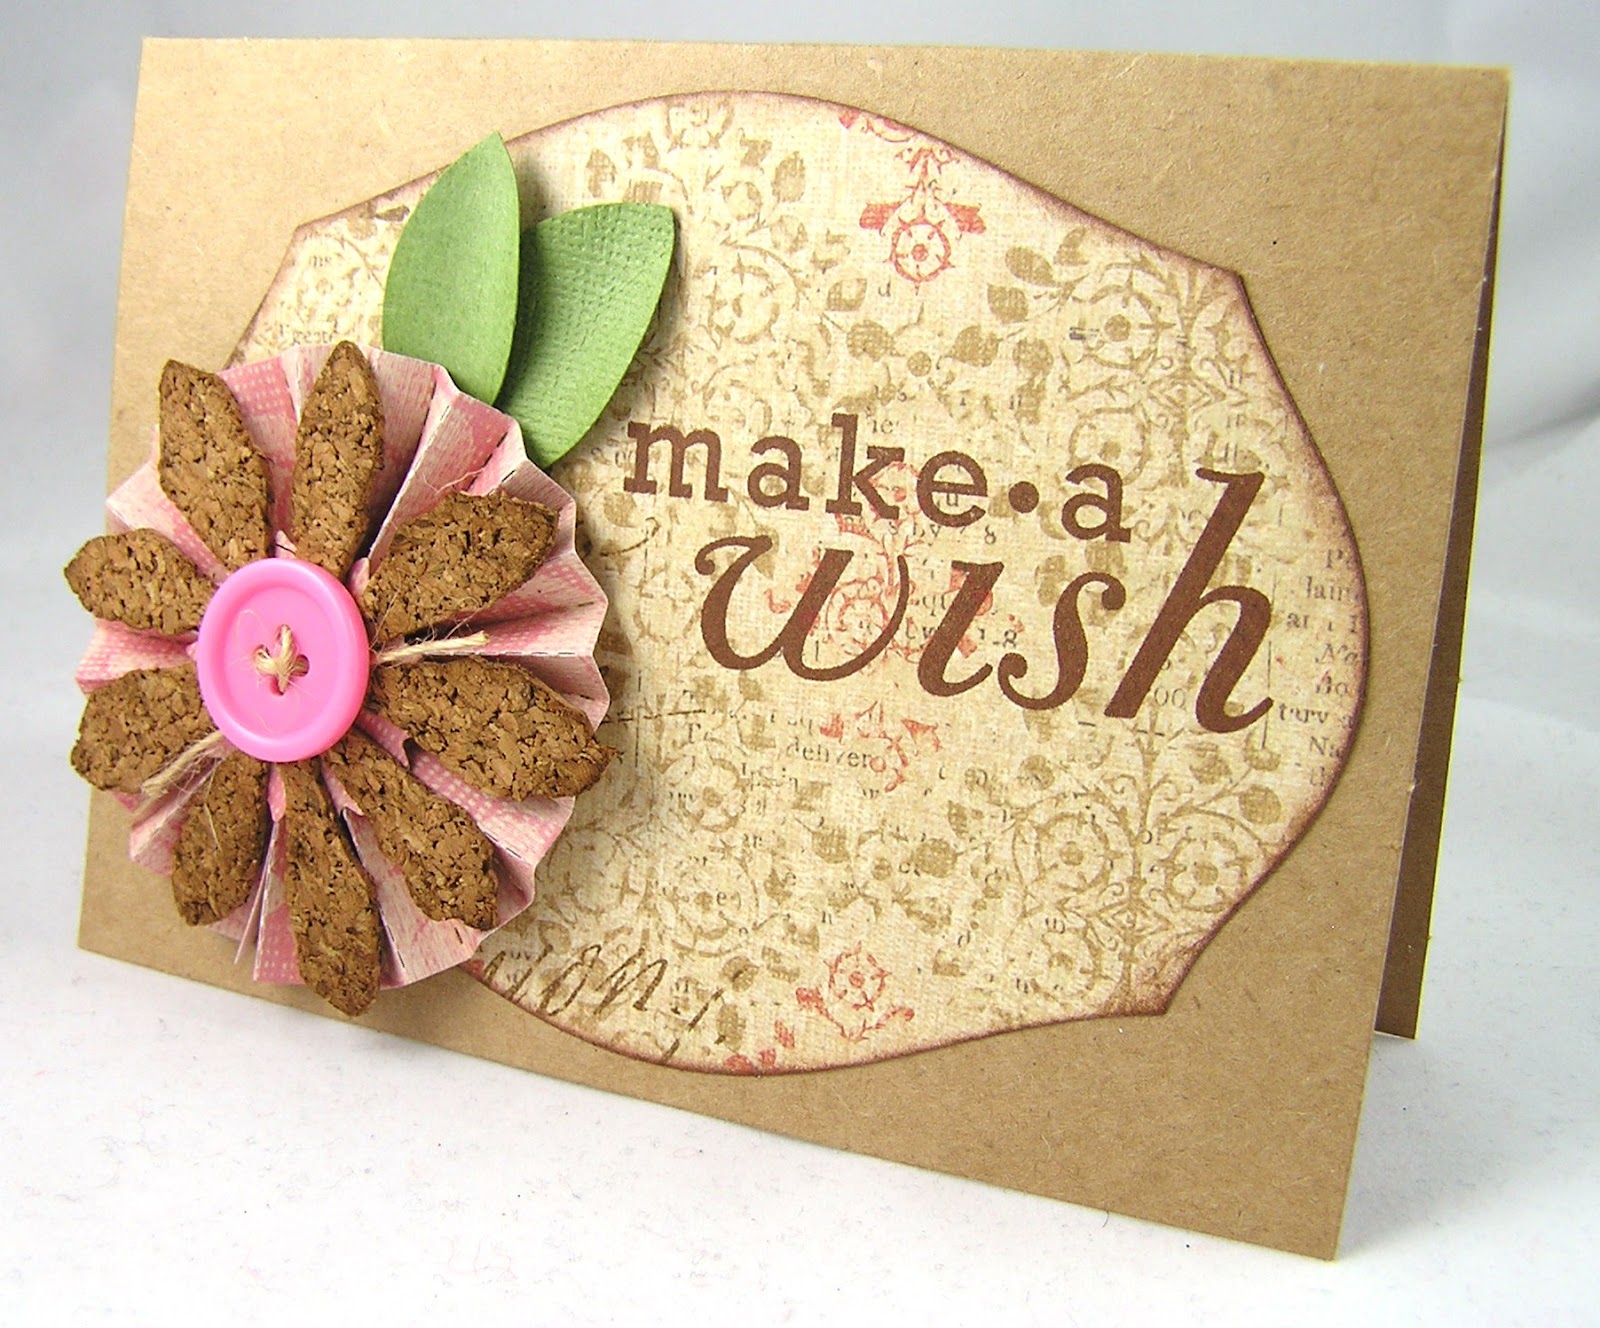
Next up is today's card. So i do have some extra embellishments, not a lot,
but i was able to make a cute card. I used some scrap paper, edged with white
ink and added it to my cardbase.
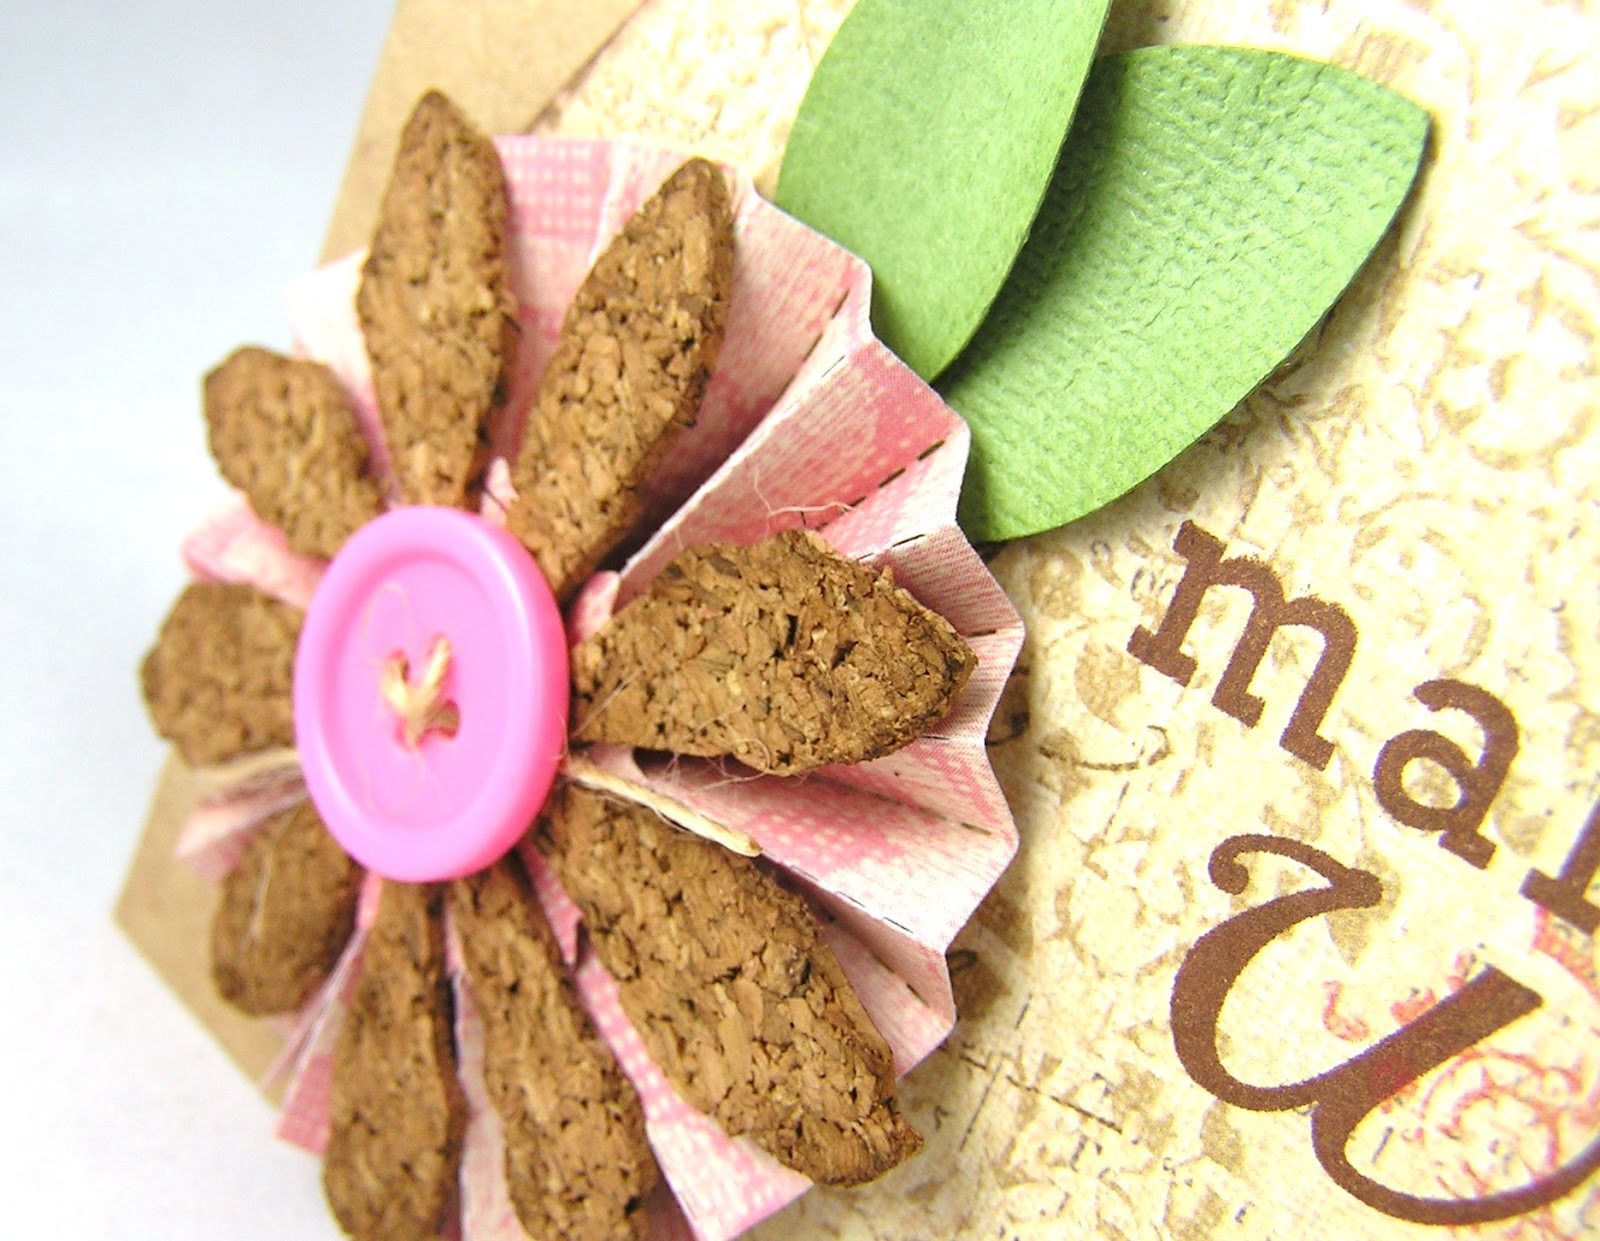
I already had the flowers die cut that didn't get used on my earlier
project. I had some stickles on one flower so i added it to the others. Then i
found a strip of kraft, added some white dash lines and stamped the sentiment
in white. I left the right end ragged.
Adhered
the strip to the card and added the flowers with pop up dots!
LOL are you still with me!?!? Thanks so much for stopping by!!
Dana
Supplies:
Pattern Paper: American Crafts: Dear Lizzie: Neapolitan
Stamp: Happy Hydrangea
Ink: Papertrey Ink: White
Glitter Glue: Stickles: Straw
Pen: Gelly Roll: Sakura