Hello and Happy Halloween!!
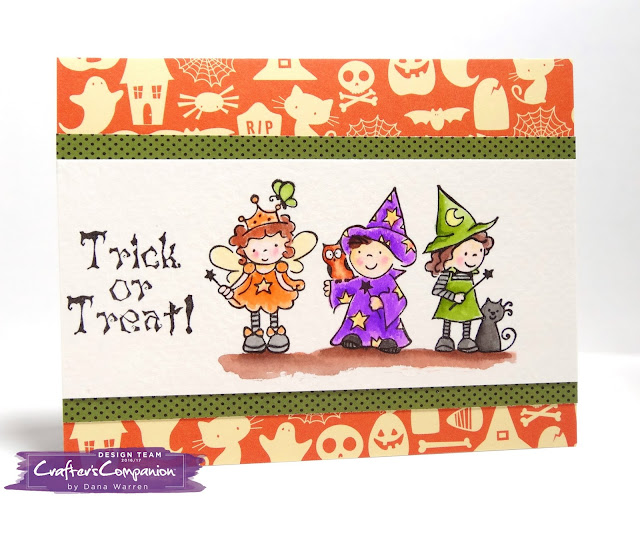
To celebrate I made a Halloween card featuring some cute Trick or Treaters from Crafter's Companion.
I stamped adorable kids on CC's watercolor cardstock and then used my Spectrum Noir Aqua Markers to color them up. I used Black, Chocolate, Charcoal, Peach, Blossom, Jasmine, Wildflower, Sunset, Topaz, Marigold.
Off to one side of the treaters, I stamped the sentiment Trick or Treat. Then I trimmed the images down so it was a wide strip. Then I added some pattern paper from Pebbles Tricks & Treats pad.
Last I just adhered the stamped strip over the pattern paper. I kept it simple as the pattern paper is a bit busy.
Thanks for stopping by!!
Dana
Supplies
Stamps: Crafters Companion - Trick or Treating
Spectrum Noir Aqua markers
Crafter's Companion Watercolor Cardstock
Pattern paper: Pebbles - Tricks & Treats
October 31, 2017
October 29, 2017
Trick Or Treat
Hello!!
I'm stopping by with a card I made for Penny Black's Holiday Head Start Challenge. I had all sorts of plans to make a bunch of cards, so I stamped a bunch of Halloween and Christmas Mimi stamps. Well, life got in the way and I'm still coloring some of the images!! I was able to get the Halloween Mimi stamps colored and cut out. I made this card weeks ago, but only just now had time to edit the photos, just in time for the deadline tonight!!
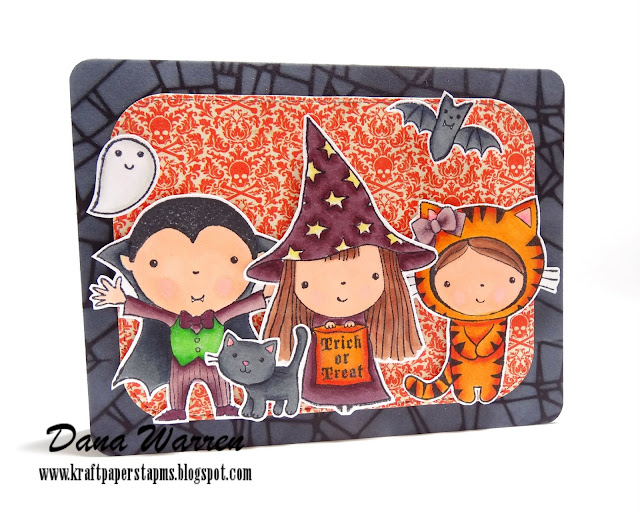
I stamped all the images from the Mimi Halloween stamp set. The flying witch is colored but will go on another card. I used my Spectrum Noir markers to color them up, using AGI, AG3, BO2, BO3, BO4, CT1, CT4, DP1, DP2, DP3, DP4, IG1, IG2, IG4, IG6. Then I just fussy cut them all out.
With a black card base, I used a spider web stencil and white ink to get the cool pattern. Then I cut an orange Halloween pattern paper from a stitched rectangle. I added the panel to the card.
Then I played around the placement of all the kids when I was happy with it I added them to the card with foam tape. Since the witch is holding a bag that says Trick or Treats I didn't add a sentiment.
Thanks so much for stopping by!! Hopefully, I'll get around to finishing the Christmas Mimi's I have stamped and make them into cards to share with you!!
Dana
Supplies
Stamps: Penny Black - Mimi Halloween
Spectrum Noir Markers
Tim Holtz Spider Web Stencil
Papertrey Ink White Ink
Authentique Pattern Paper - Trilling
October 19, 2017
Coffee Loving Card Makers - Layering Stamps
Hello!!
This is my second post today, click here for my Art Impressions post! I'm also on the Coffee Loving Card Makers blog today with some Layering Stamp ideas for your cards or projects! I hope you'll stop by!! Here is a little sneak peek for you!!
This is my second post today, click here for my Art Impressions post! I'm also on the Coffee Loving Card Makers blog today with some Layering Stamp ideas for your cards or projects! I hope you'll stop by!! Here is a little sneak peek for you!!
Dana
Art Impressions Challenge #219 - Stamp A Scene
Hello!!
It's the second week of Art Impressions Challenge #219 - Stamp a Scene. AI also has a great new Mini Tryfold release, two Christmas and one Halloween sets!!
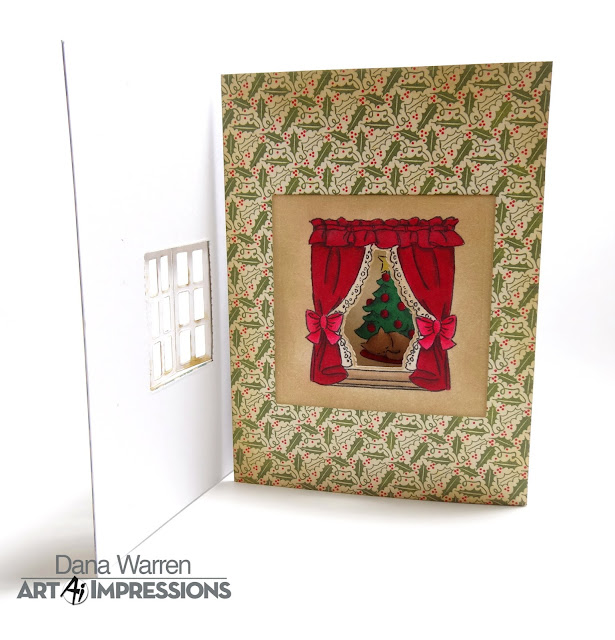
My card features the Winter Window set! You get clear stamps, dies and of course instructions on how to make your mini tryfold card!! I started by stamping the three images on white cardstock and coloring them with my Spectrum Noir markers. I used: AG2, AG3, AG5, CR8, CR1, CT4, DR7, GB3, JG5, MB1, MG3, MG4, MG3, MG4, MG5.
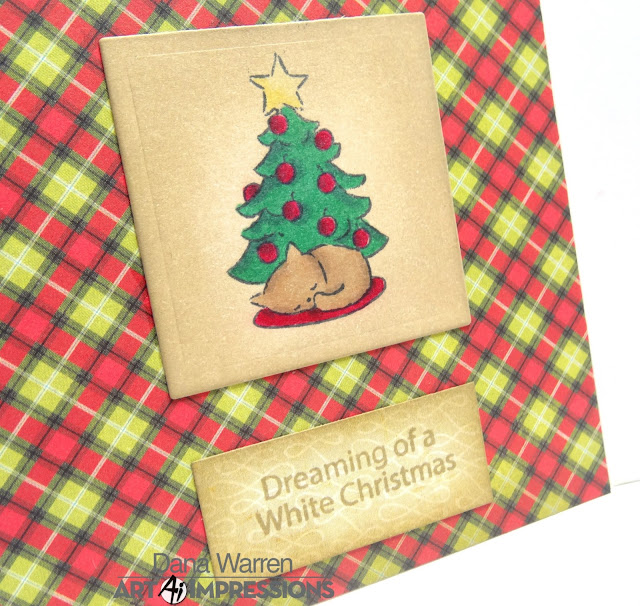
Then I pulled out Echo Park Paper Co. paper pad Season's Greetings. I picked out a few patterns I liked. I especially liked this old paper like pattern, so I pulled out my Frayed Burlap Distress Ink and added ink to each image after die cutting them out with square dies.
I also added some ink to the edges of the different pattern papers. With the matching dies I cut the colored images first then holding them in place on my card use washi tape to hold dies in place to cut through the card.
Then I can adhere my pattern paper and colored images to each card panel and to the inside. For a sentiment I stamped and inked a light pattern paper, die cut and added it below the kitten.
Thanks so much for stopping by!!
Dana
Supplies
Stamps: Art Impressions - Winter Window
Spectrum Noir Markers
Pattern paper: Echo Park Paper Co. - Season's Greetings
Distress Ink - Frayed Burlap
October 18, 2017
Rock & Roll Action Wobble
Hello!!
Today I'm on the Art Impressions blog sharing a fun card featuring the Rock & Roll Mini Shaker set! The mini shakers are super cute and great for easy interactive cards!!
I started by stamping the image on some white cardstock and then just the smaller image on a piece of scrap paper. Then I used my Spectrum Noir Colored Pencils to color it up! I used: Espresso, Cider, Black, Vintage Blue, Sea Urchin, Violet Pearl, Cream, Royal Blue, Bark, Reef Blue, Velvet, Deep Purple, Eggshell, Pewter.
With the matching die, I cut out the small image. With a fancy square die, I cut out the main image and then stamped the Happy Birthday and Rock & Roll sentiments. With a mini action wobble, I attached the smaller image that I die cut over the bigger image.
From some gold embossed Kraft cardstock, I adhered the fancy square with the wobbly image. I also used the small star dies in the set and cut out some gold mirror stars. Then I just adhered them to the card and last rounded the corners of the card.
Thanks so much for stopping by!
Dana
Supplies:
Stamps & Dies: Art Impressions - Rock & Roll
Spectrum Noir Colored Pencils
Sizzix - Framelits Fancy Labels
Bazzill Basics - Kraft Foil
October 7, 2017
Happy World Card Making Day 2017
Hello and Happy World Card Making Day!!
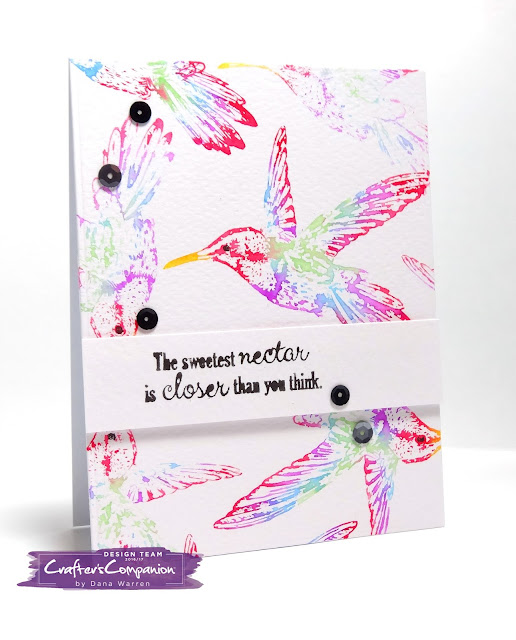
I'll be crafting later today, first I have a few errands to run! I had a little downtime this week and did some crafting for just fun and did some watercoloring stamping!! I've been doing a lot of coloring with my SN markers and I was in the mood to play with my SN Aqua markers!!
I trimmed some Crafter's Companion's watercolor paper to fit a card base. Then I pulled out Sheena Douglass's Hummingbird stamp and a few Aqua Markers. I used Magenta, Sea Green, Aquamarine, Gold, Yellow, Scarlet, and Black.
I used the markers to color the hummingbird, using all the colors but black. I spritzed the stamp a couple of times with water and then stamped. There is plenty of ink on the stamp, so I just moved the hummingbird around and stamped again.
The watercolors blended together fabulously! I continued to do this until the panel was filled. With the fine tip end of the black marker, I added in the eyes! So nice to have that fine tip for the details!!
Next, I colored the sentiment with the black aqua marker and stamped it without water because I didn't want it to run too bad. It did just a touch and that's what I wanted! Water would have made it unreadable!
I added the stamped panel to a white card base and then added the sentiment strip with foam tape. Last I added a few black and grey sequins for a little sparkle.
Thanks so much for stopping by!!
Dana
Supplies
Stamps: Crafter's Companion - Sheena Douglass - Hummingbird
Spectrum Noir Aqua Markers
Sequins: Neat & Tangled - Black. The Paper Studio - Grey
Crafter's Companion Watercolor Cardstock
October 5, 2017
Coffee Loving Card Makers - Canvas, Cork & Burlap
Hello!!
This is my second post today, click here for my Art Impressions post! I'm also on the Coffee Loving Card Makers blog today with some Canvas, Cork & Burlap ideas for your cards or projects! I hope you'll stop by!! Here is a little sneak peek for you!!
Dana
This is my second post today, click here for my Art Impressions post! I'm also on the Coffee Loving Card Makers blog today with some Canvas, Cork & Burlap ideas for your cards or projects! I hope you'll stop by!! Here is a little sneak peek for you!!
Dana
Art Impression Challenge #218 - Jiggle A Little
Hello!
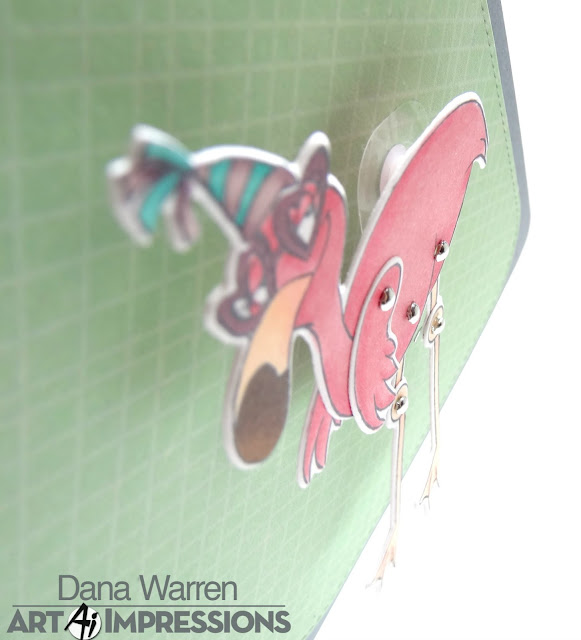
It's the second week of Art Impressions Challenge #218 - Jiggle A Little!! AI also has a great NEW release of a new product called Wiggle Wobbles! My card features the Flamingo Wiggle Wobble!
I started by stamping the images in the set. You do have to stamp the leg and wing twice! Then I used my Spectrum Noir Markers to color it. I used: AB1, AB2, AB3, DP1, DP2, DP3, EB3, EB5, FS4, FS9, MG2, MG3, MG5, TN2. With the matching dies that come with the set I die cut all the pieces out.
The set includes mini brads to get you started, but you can buy a big pack on AI's website! I just assembled flamingo with the brads and she is ready to go!!
I pulled out some grey cardstock and made a card base with it. From a Christmas pattern paper pad, I found some cool non-Christmas patterns and cut them with a stitched rectangle. I adhered the pink to the front and the cool green to the inside of the card. With a circle die, I cut a window through the front of the card.
I stamped the sentiment on a piece of green pattern paper and trimmed it up and added it below the window on the front of the card. Last I added the Flamingo to the inside of the card with a mini action wobble (more wobbles can be purchased on AI's website!). And wa-la an adorable wobble with awesome action!!
Thanks for stopping by!! Make sure you check out Art Impressions blog to see the other fabulous designs by the DT play along to win some AI goodies!!
Dana
Supplies
Stamps: Art Impressions - Flamingo Wiggle Wobble
Spectrum Noir Markers
Pattern Paper: Echo Park Paper - Holly Jolly Christmas
Dies: Spellbinders - Circle. Gina Marie Designs - Stitched Rectangle
October 4, 2017
Old Goats Club
Hello!!
I'm on the Art Impressions blog with another card using the Old Goat set. This one is an easy card to make so it would be perfect to do this up as a card set!!
I started by stamping the jumping goat on watercolor cardstock. Then I colored it with my Spectrum Noir Markers: AG1, AG3, CT1, CT4, CR7, MB1, MB3, MB4. I fussy cut him out, next.
For a sentiment, I die cut a speech bubble and then stamped the Welcome to the Old Goats Club sentiment.
The background was super easy!! Washi tape!! This roll has been running around my desk just waiting for me to use it!! I lined up a white card base on my mat and then added the stripes of washi tape.
To finish it up I added the sentiment and the goat with foam tape. To make this a card set, just stamp and color images all at once. Then die cut and stamp the sentiment bubble, add the washi tape and the image and sentiment to each card.
Thanks for stopping by!!
Dana
Subscribe to:
Comments (Atom)
